Swapping an IP
Last reviewed: June 2, 2026
Log into RDP
Using your original credentials, log into RDP.
Locate DNS and IP configuration for ethernet adapter
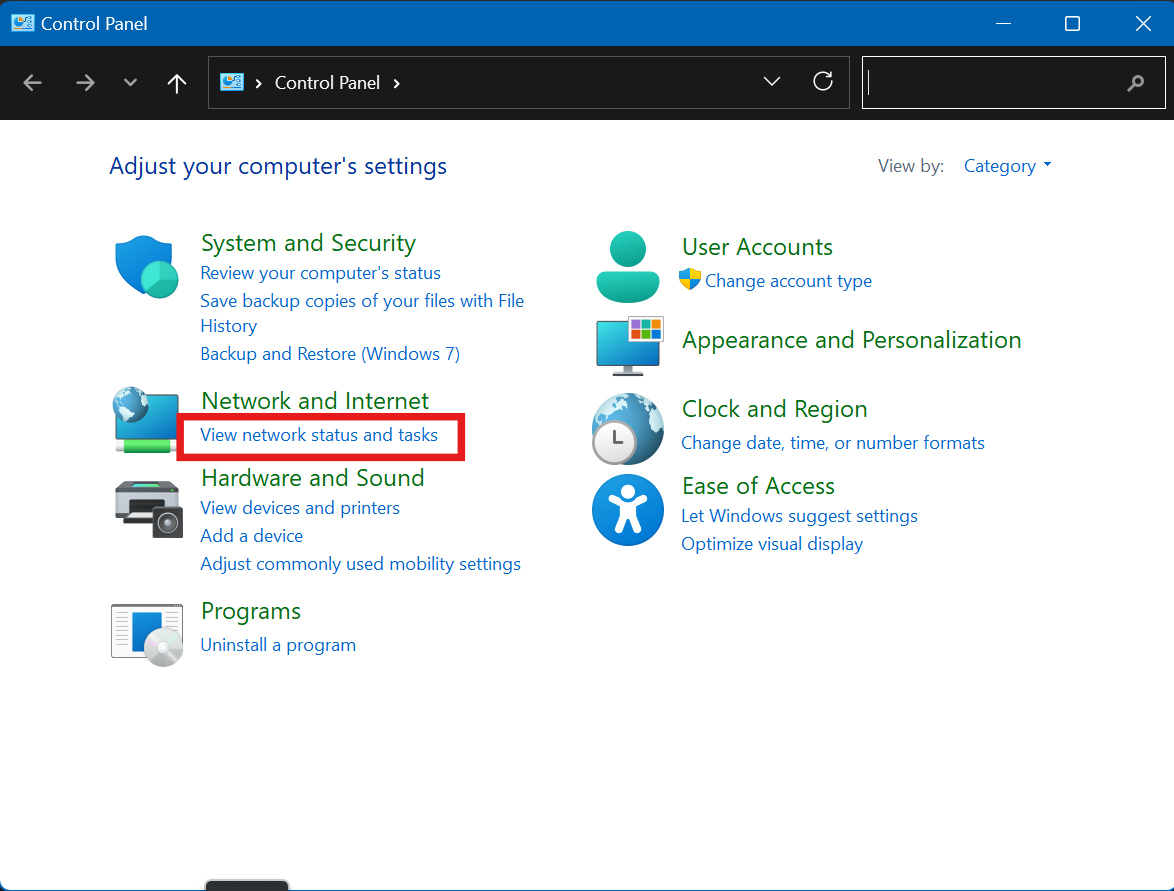
Go to Control Panel
Select View Network Status and Tasks
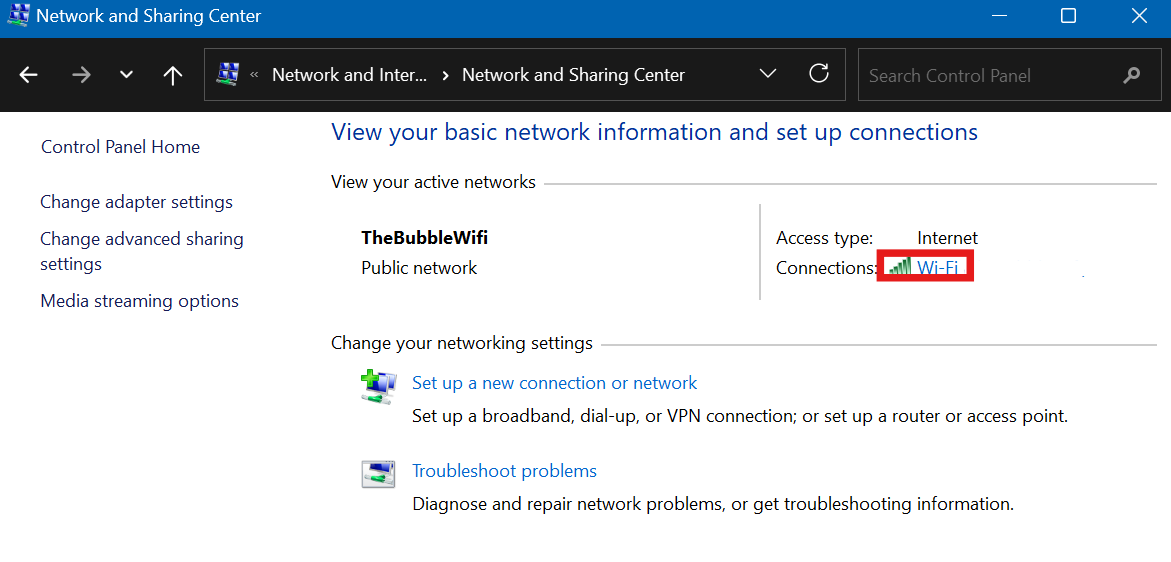
Click on the available adapter (example, WiFi, Ethernet 2, etc.)
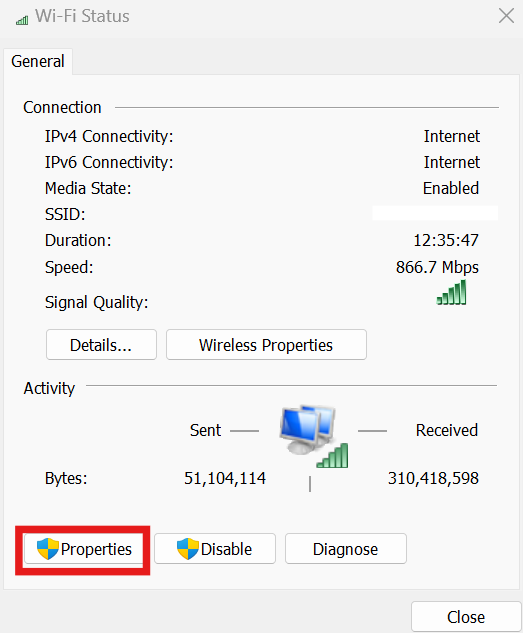
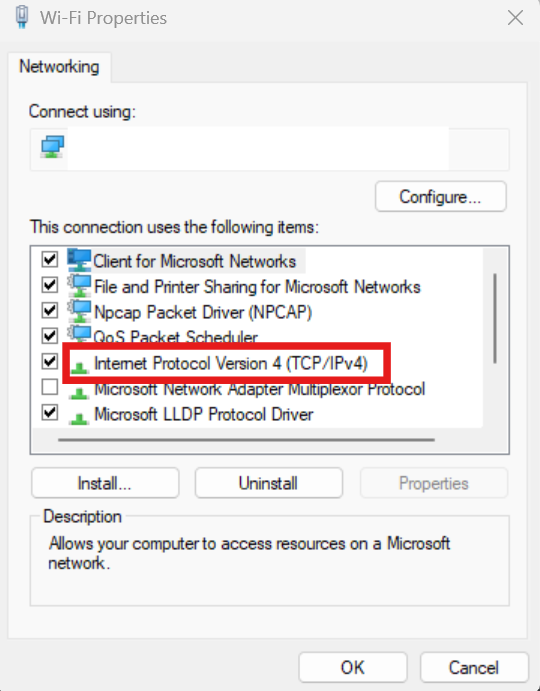
Enter the Properties menu, and select Internet Protocol Version 4 (TCP/IPv4), click OK
Configure the IP and DNS
Select:
"Use the following IP address:"
"Use the following DNS server addresses:"
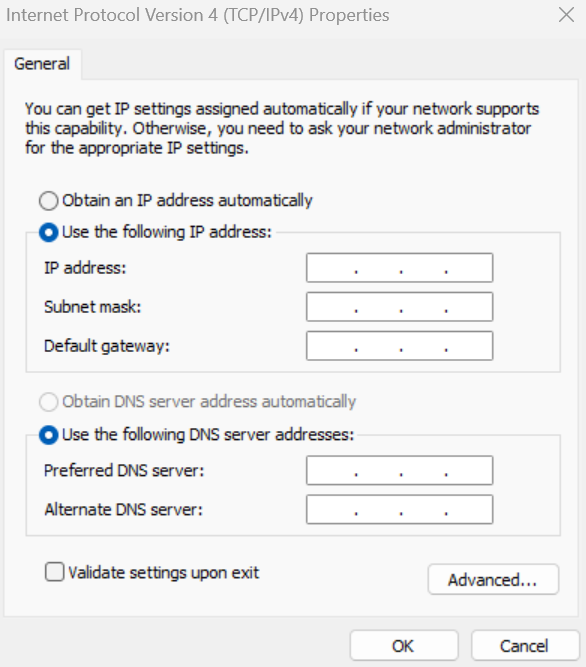
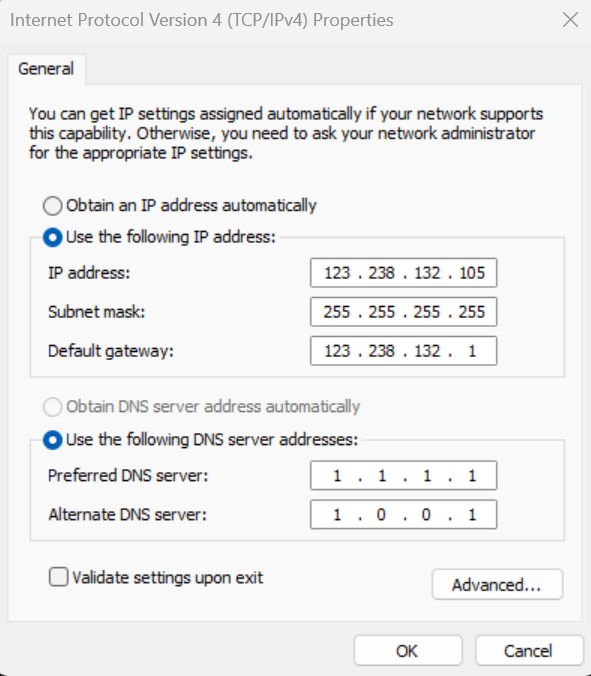
Enter the information in the following sections:
IP address: IPv4 address provided to you by us (example: 123.238.132.105
Subnet mask: 255.255.255.0
Default gateway: IPv4 address provided, by remove last set of digits with 1 (example: 123.238.132.1)
Preferred DNS server: 1 . 1 . 1 . 1
Alternate DNS server: 1 . 0 . 0 . 1
Click OK
After you click OK, your RDP connection will disconnect
Sign into RDP with new IP
Sign back into RDP with the new IP, same username, same password.
Re-open your ports that you need (30120,40120,etc)
You are all set with the new IP!
If anything were to go wrong, such as RDP does not work or the server is unresponsive after applying the configurations, do the following:
1.Go to the dedicated dashboard - from your client portal click "Manage" on the server in your products/services list, then click "Control Panel".
2.Click on your server, on the top right you will see "Power Options" and "Console", click on Console and wait for the new window to load or a link to be provided in a pop up modal (if your web browser blocks pop up windows).
3.Once in the console, log into your server using your RDP password, and start at the top of this documentation to ensure all is in order.
If this is still unsuccessful, please open a ticket and reach out, we will happily assist!