Plugin Manager
Last reviewed: June 2, 2026
The Plugin Manager will be a handy tool for making your adventure more interesting, or easier, by easily installing any plugins you would like to your server!
info
This example will use a Minecraft Server. However, the features, functions, and instructions remain the same for other games.
To install a plugin:
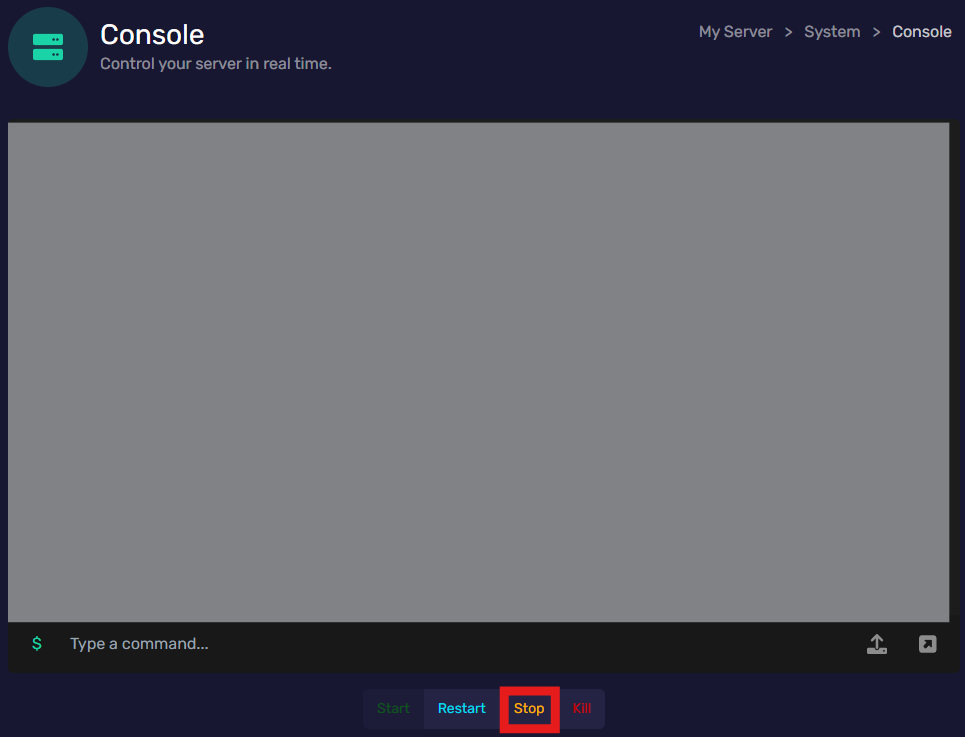
- Start by powering off your server in the Console tab by clicking "Stop", and;
- Go to the Plugin Manager tab in the Tools menu, and;
- Find the plugin you would like, the tab displays:
- The plugins name
- The description of the plugin
- "Install" or "Download Manually" buttons.
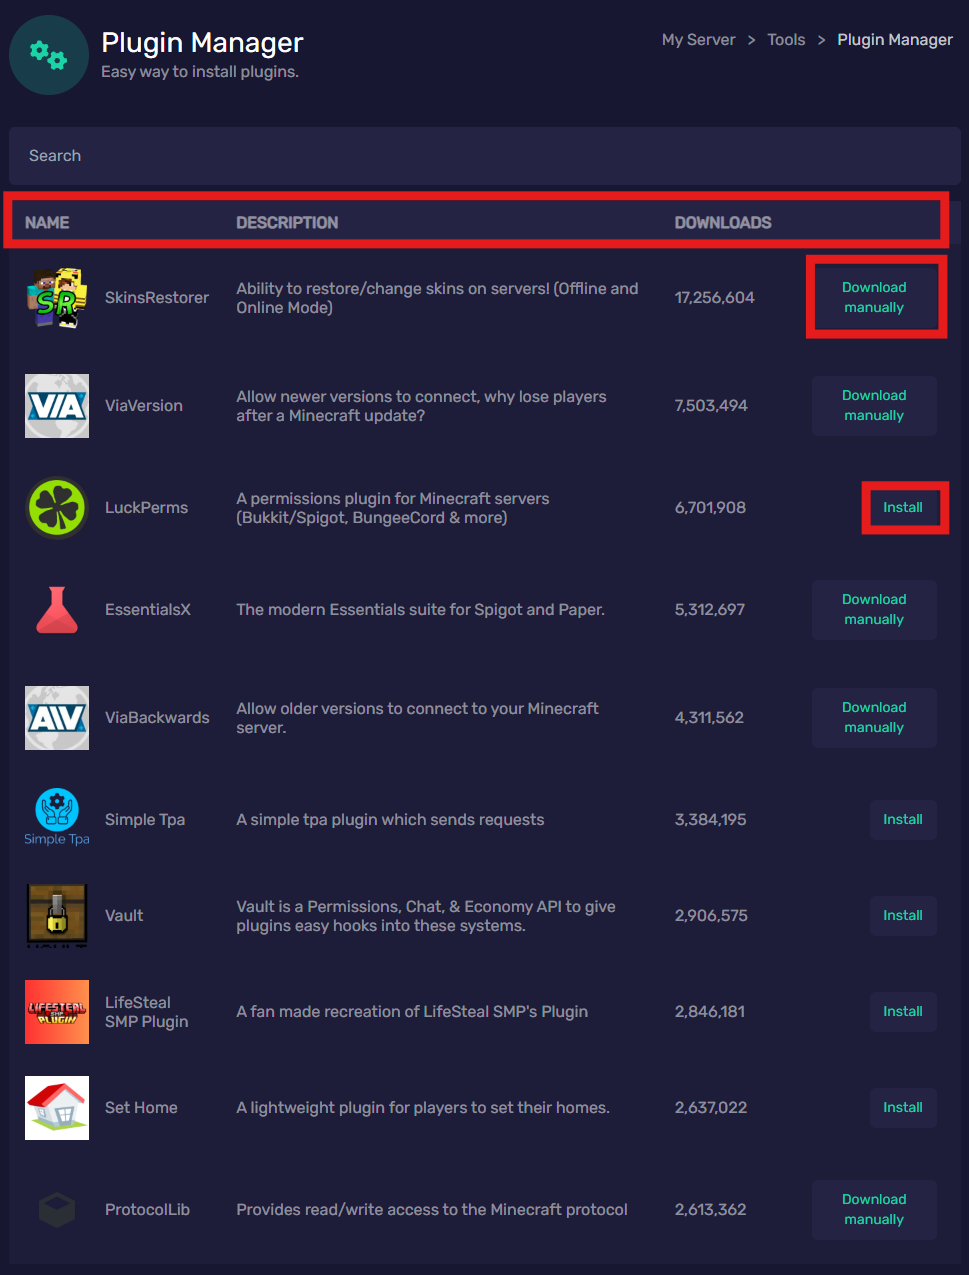
- If you click "Install", you're good to start your server after the installation is complete!
- If you click "Download Manually":
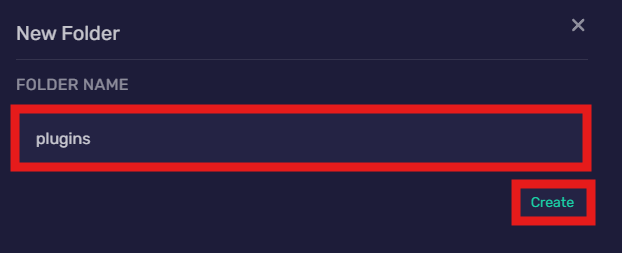
- Go to the File Manager tab and select the 3 dots at the top right and click "New folder", name the folder "plugins" and click "Create".
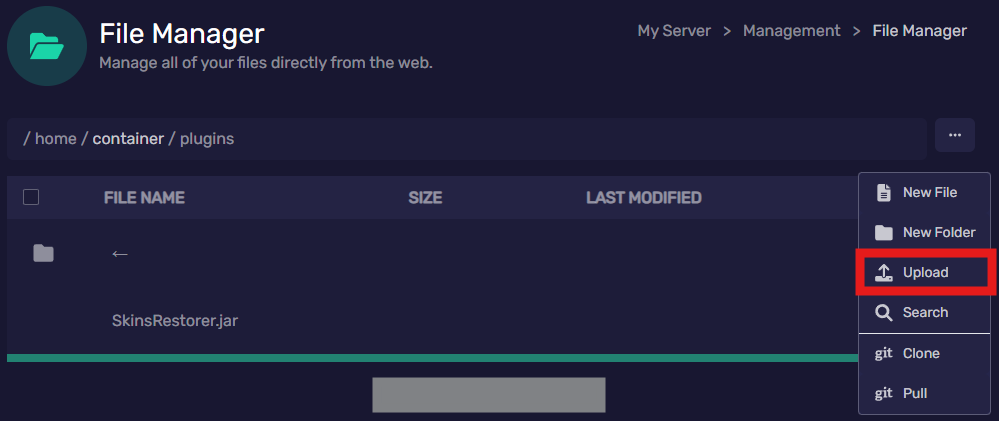
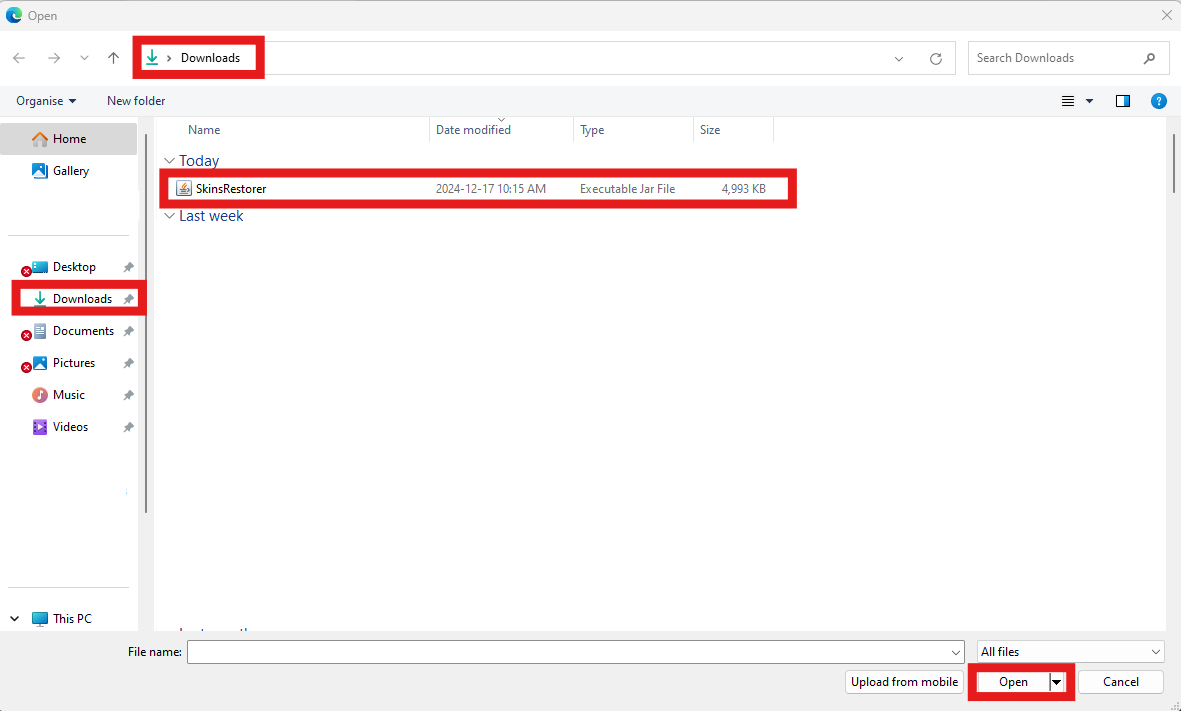
- Open the new "plugins" folder and select the 3 dots at the top right again then click "upload" and select your plugin in the file explorer then click "Open".
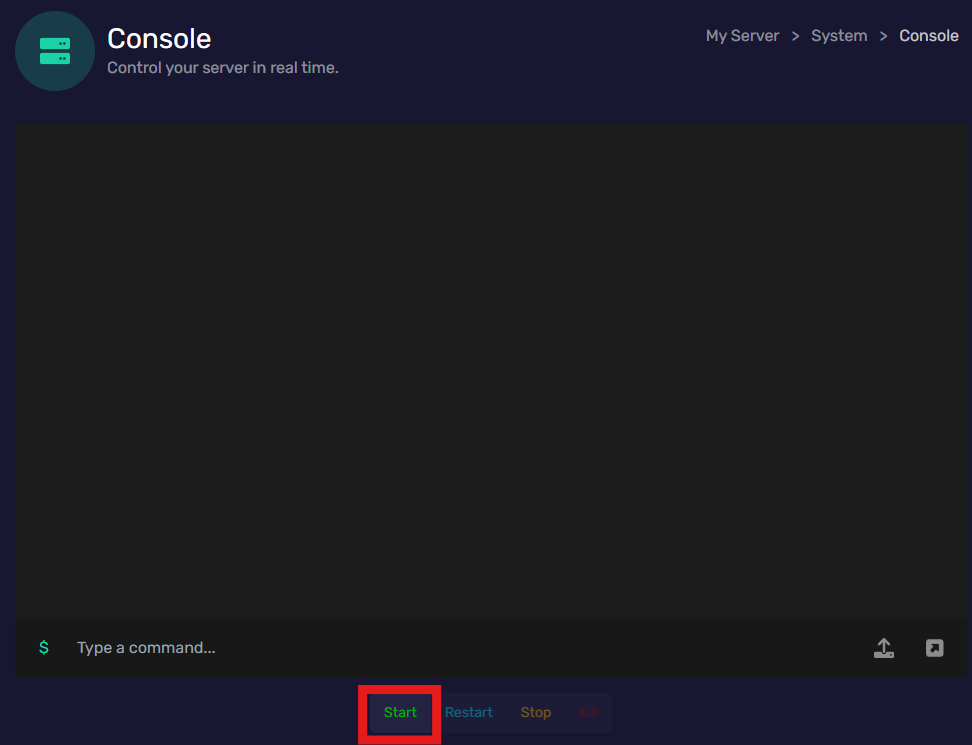
- Once the plugin is uploaded, you are good to go to the Console tab and click "Start"!