txAdmin Proxy Cloudflare
Last reviewed: June 2, 2026
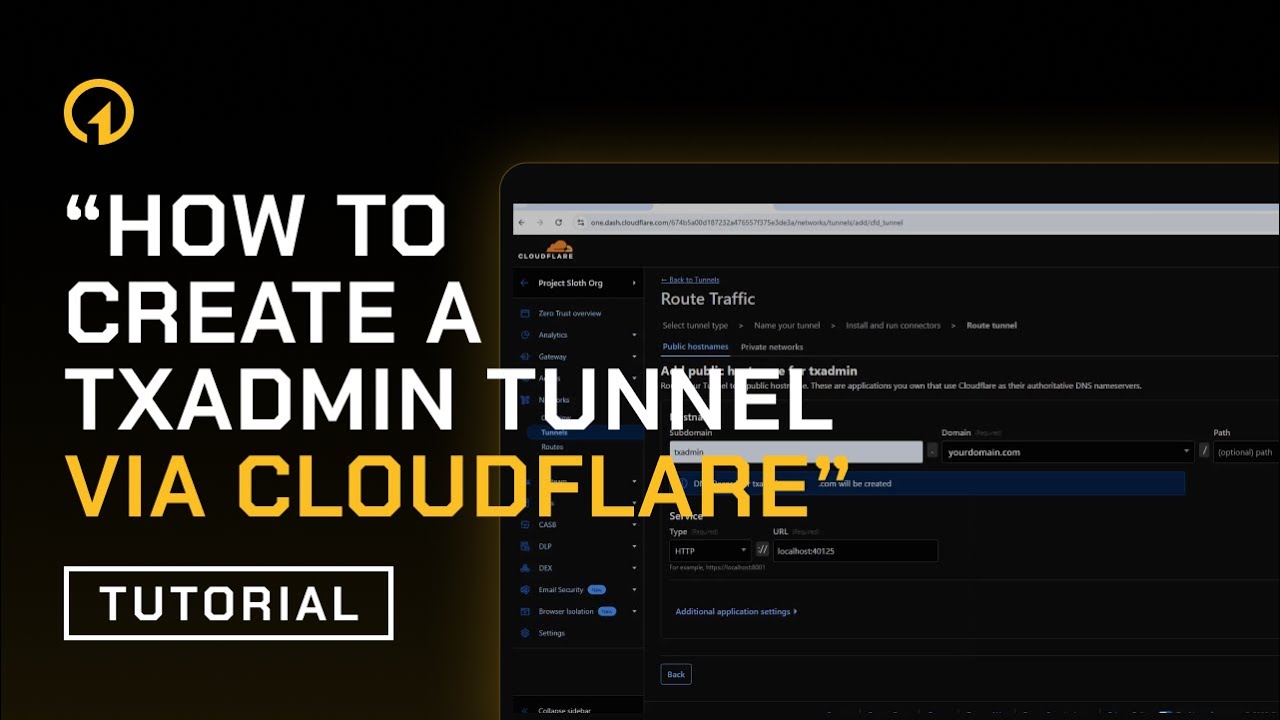
Secure txAdmin with Cloudflare Tunnel
This guide walks you through setting up a Cloudflare Tunnel for txAdmin so that you can safely expose your admin panel without revealing your IP address, helping prevent DDoS attacks.
Requirements
- A domain added to your Cloudflare account.
- A FiveM server (VPS or dedicated).
- Cloudflared downloaded and installed on your VPS or dedicated server.
 txAdmin Proxy Cloudflare
Step 1: Setup Your Domain on Cloudflare
-
Make sure you have a domain in your Cloudflare account.
-
Go to the Cloudflare dashboard and navigate to:
Account Home > Zero Trust > Networks > Tunnels
If you haven’t set up a Zero Trust team before, you’ll be prompted to create one. You can name it after your RP server, for example, “1OF1 RP” or something similar. When asked about payment, just select the free plan, which includes 50 seats, more than enough for your needs.
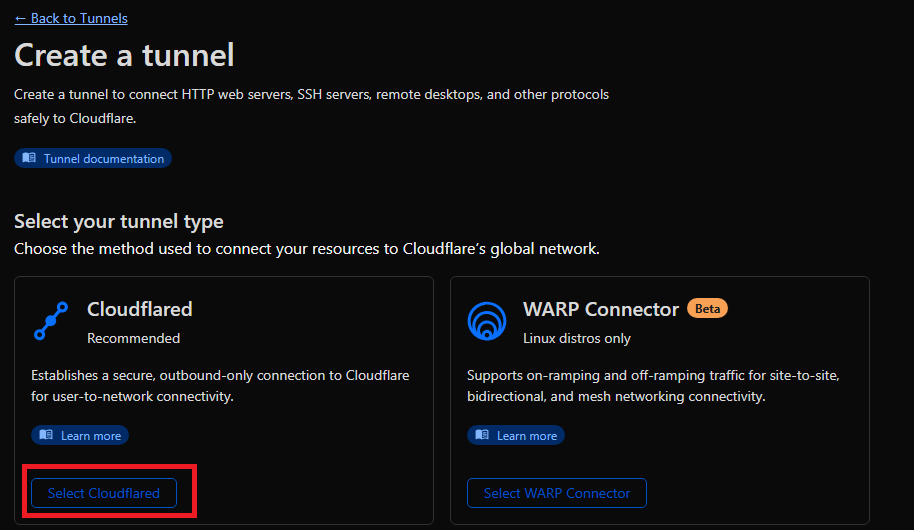
Step 2: Configure a Cloudflare Tunnel
- Click "Add a Tunnel".
- Choose Cloudflared as the tunnel type.
- Name the tunnel (e.g.,
txadminor any name you prefer).
Step 3: Install Cloudflared
Download the cloudflared binary directly to the VPS or dedicated server your FiveM server is running.
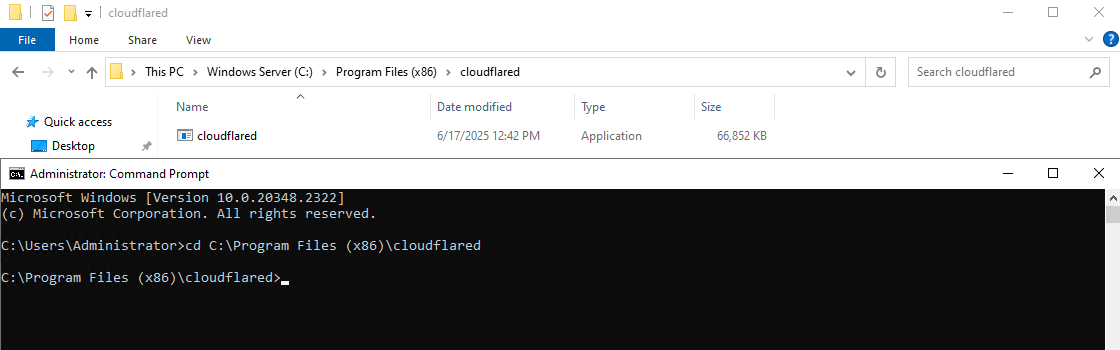
Step 4: Run the Tunnel
-
Open Command Prompt as Administrator.
-
Use the
cdcommand to navigate to the folder where Cloudflared was installed. By default, this is likely:C:\Program Files (x86)\cloudflaredYour command might look like:
C:\Users\Administrator> cd "C:\Program Files (x86)\cloudflared"Once you're in the directory, your prompt should look blow, awaiting the copy/paste from Cloudflare.
C:\Program Files (x86)\cloudflared>
- Copy and paste the command shown in your Cloudflare dashboard to authenticate the tunnel and connect it to your account.
Step 5: Configure Tunnel Routing
During setup:
- Subdomain:
txadmin - Domain: Select from your Cloudflare-managed domains.
- Service Type:
http - URL:
localhost:40120
Security Tip: It’s strongly advised not to use the default port 40120 for txAdmin. Instead, choose a random, non-standard port to help protect against automated scans and potential exploits.
Set Custom txAdmin Port
To change the port txAdmin uses, set the following environment variable in your batch script:
set TXHOST_TXA_PORT=40125
This ensures txAdmin will bind to TCP port 40125.
For full documentation on environment variables and advanced configuration, visit the official txAdmin docs.
Whatever port you choose to use, make sure that it is CLOSED on your firewall.
This forwards traffic from txadmin.yourdomain.com to your local txAdmin panel.
Step 6: Deploy and Access
Once deployed, your txAdmin panel will be securely accessible at:
https://txadmin.yourdomain.com
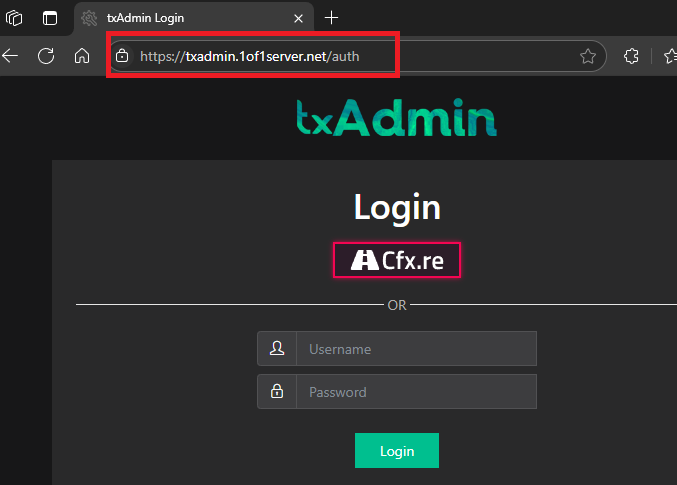
Done!
You now have a secure way to manage your FiveM server using txAdmin without exposing your public IP address.
We do not offer any support other than what is found on this guide. Please do not ask us for any support or open tickets about this, they will be auto closed.